Archive
Springerle Experiment the Third
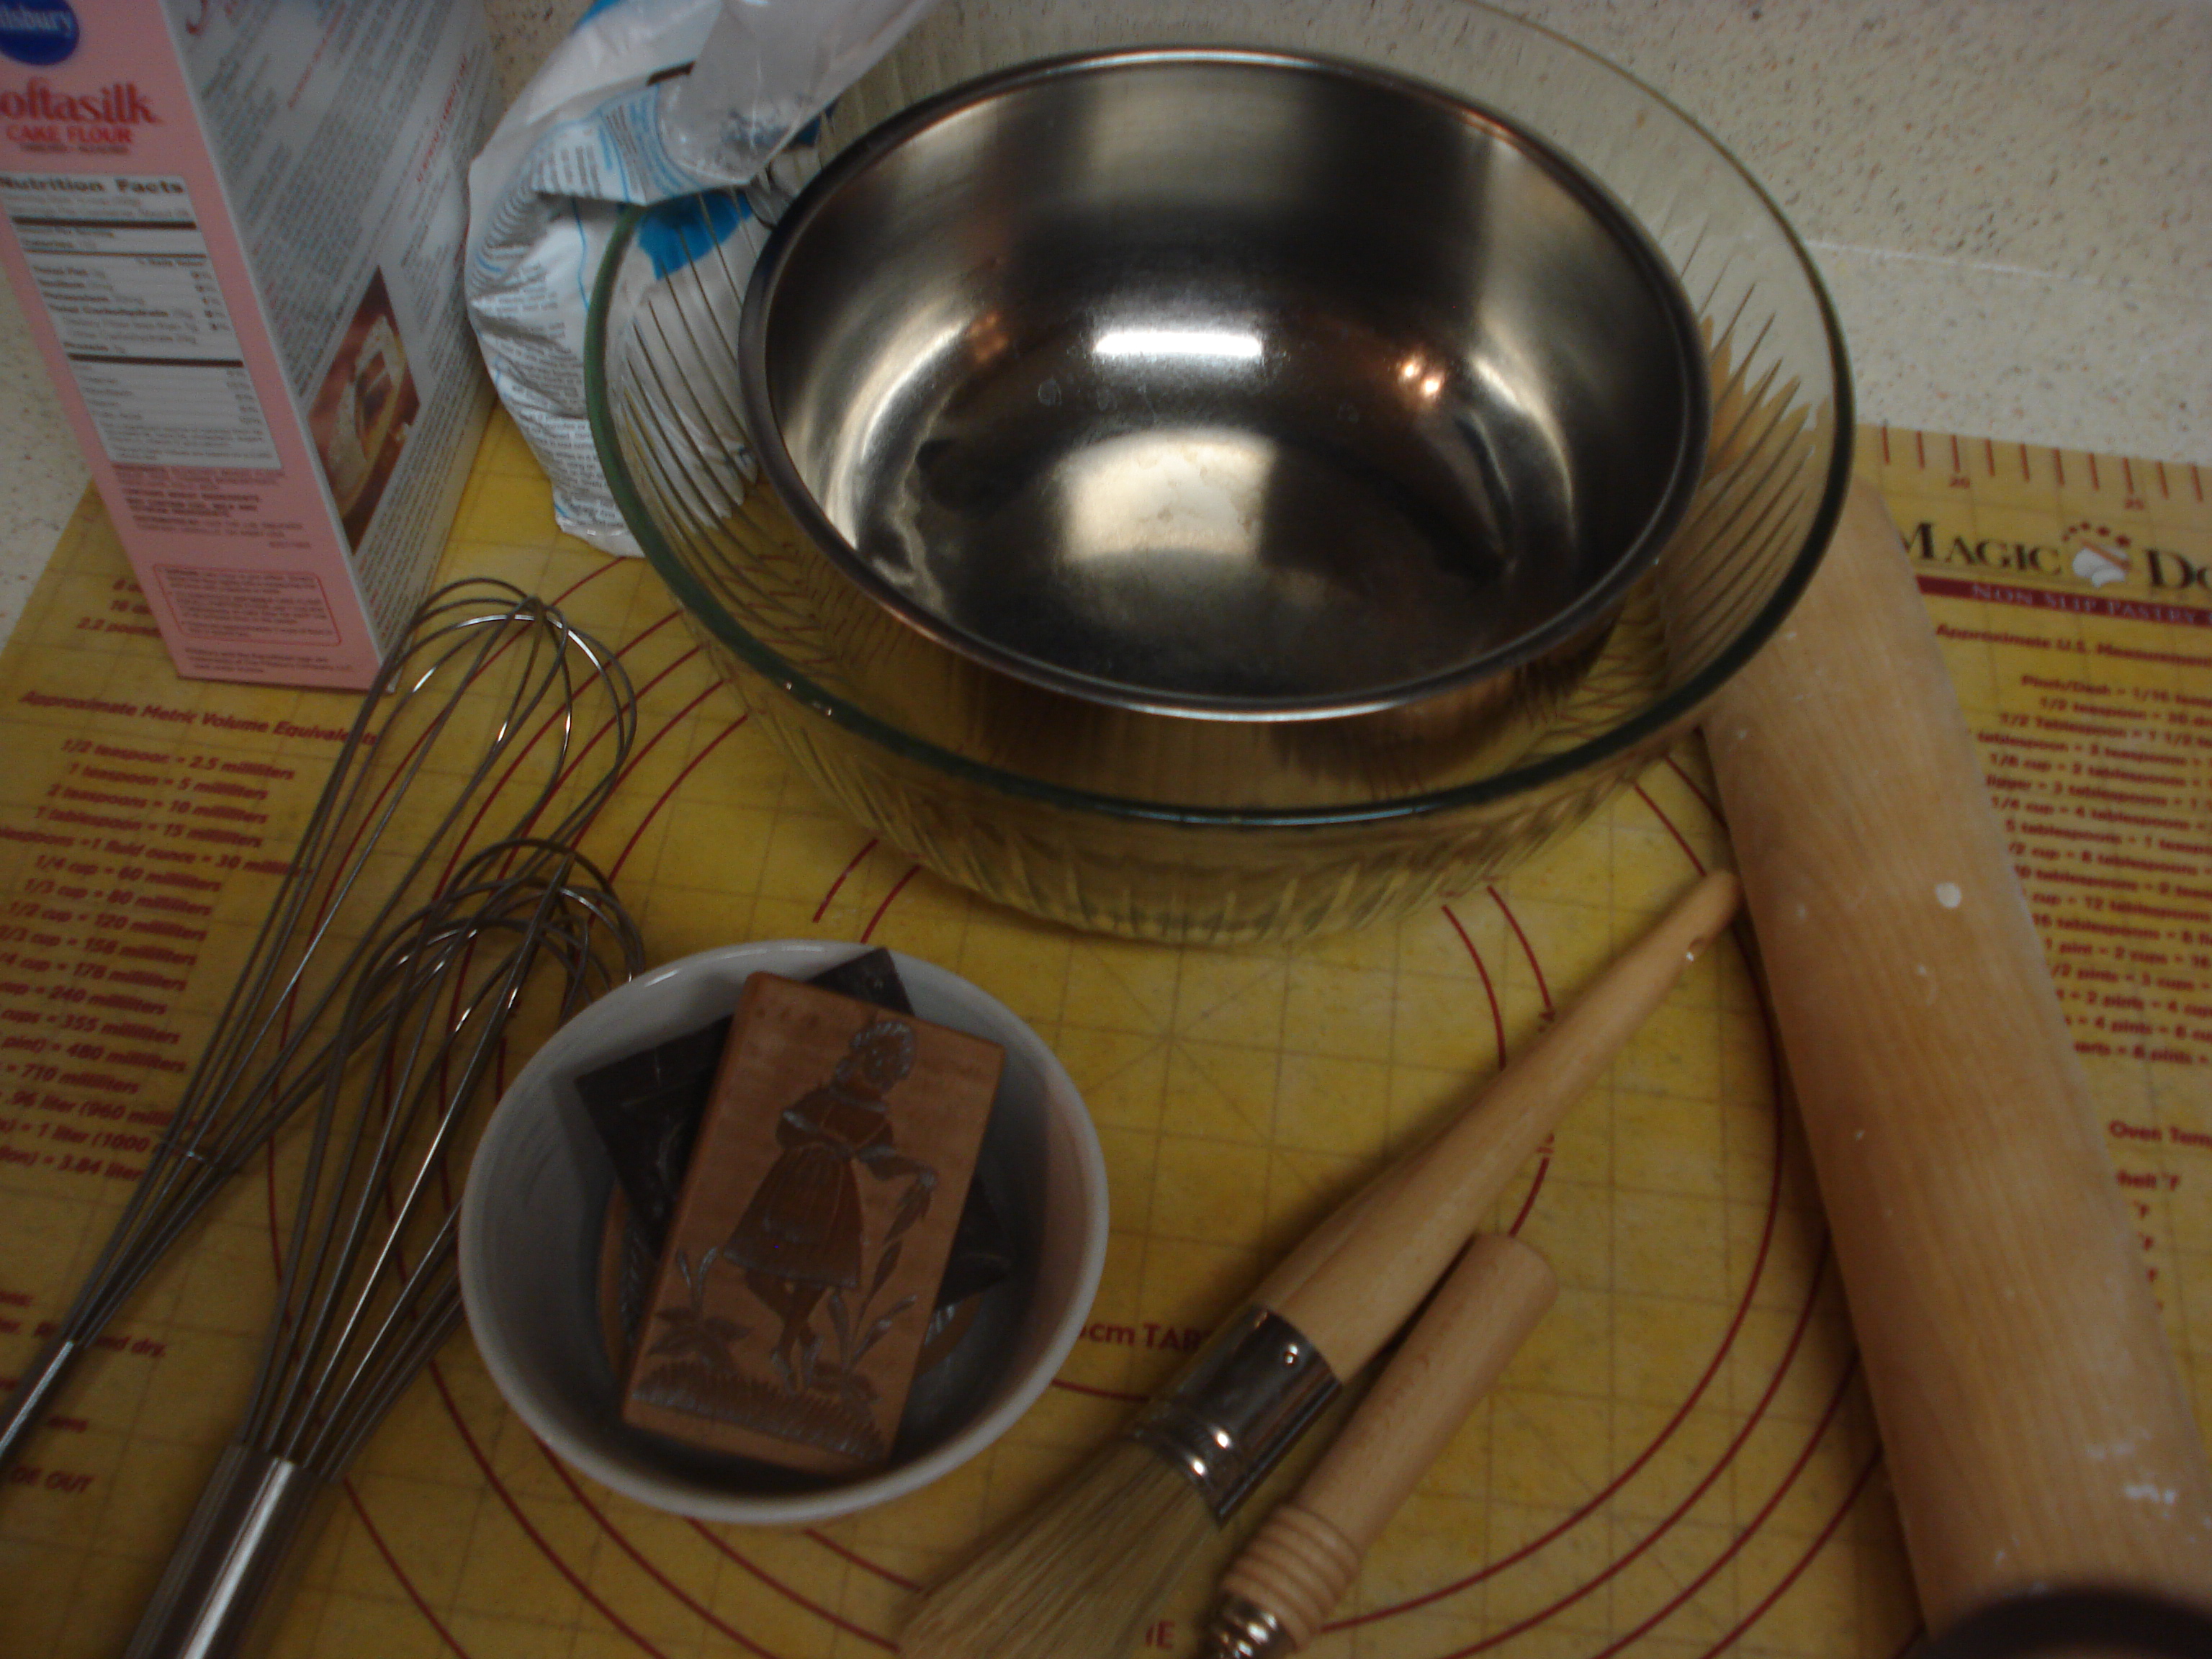
I decided to try yet another Springerle recipe last weekend. I really enjoyed the tutorial videos at SpringerleJoy.com. You can view the individual videos here. I didn’t use the recipe they have on the website, but the four ingredient recipe she used in the “making the dough” tutorial. Also, I really really need a stand mixer for me to make any batches larger than this one. I also picked up some new tools, a pasta wheel and a pastry brush.
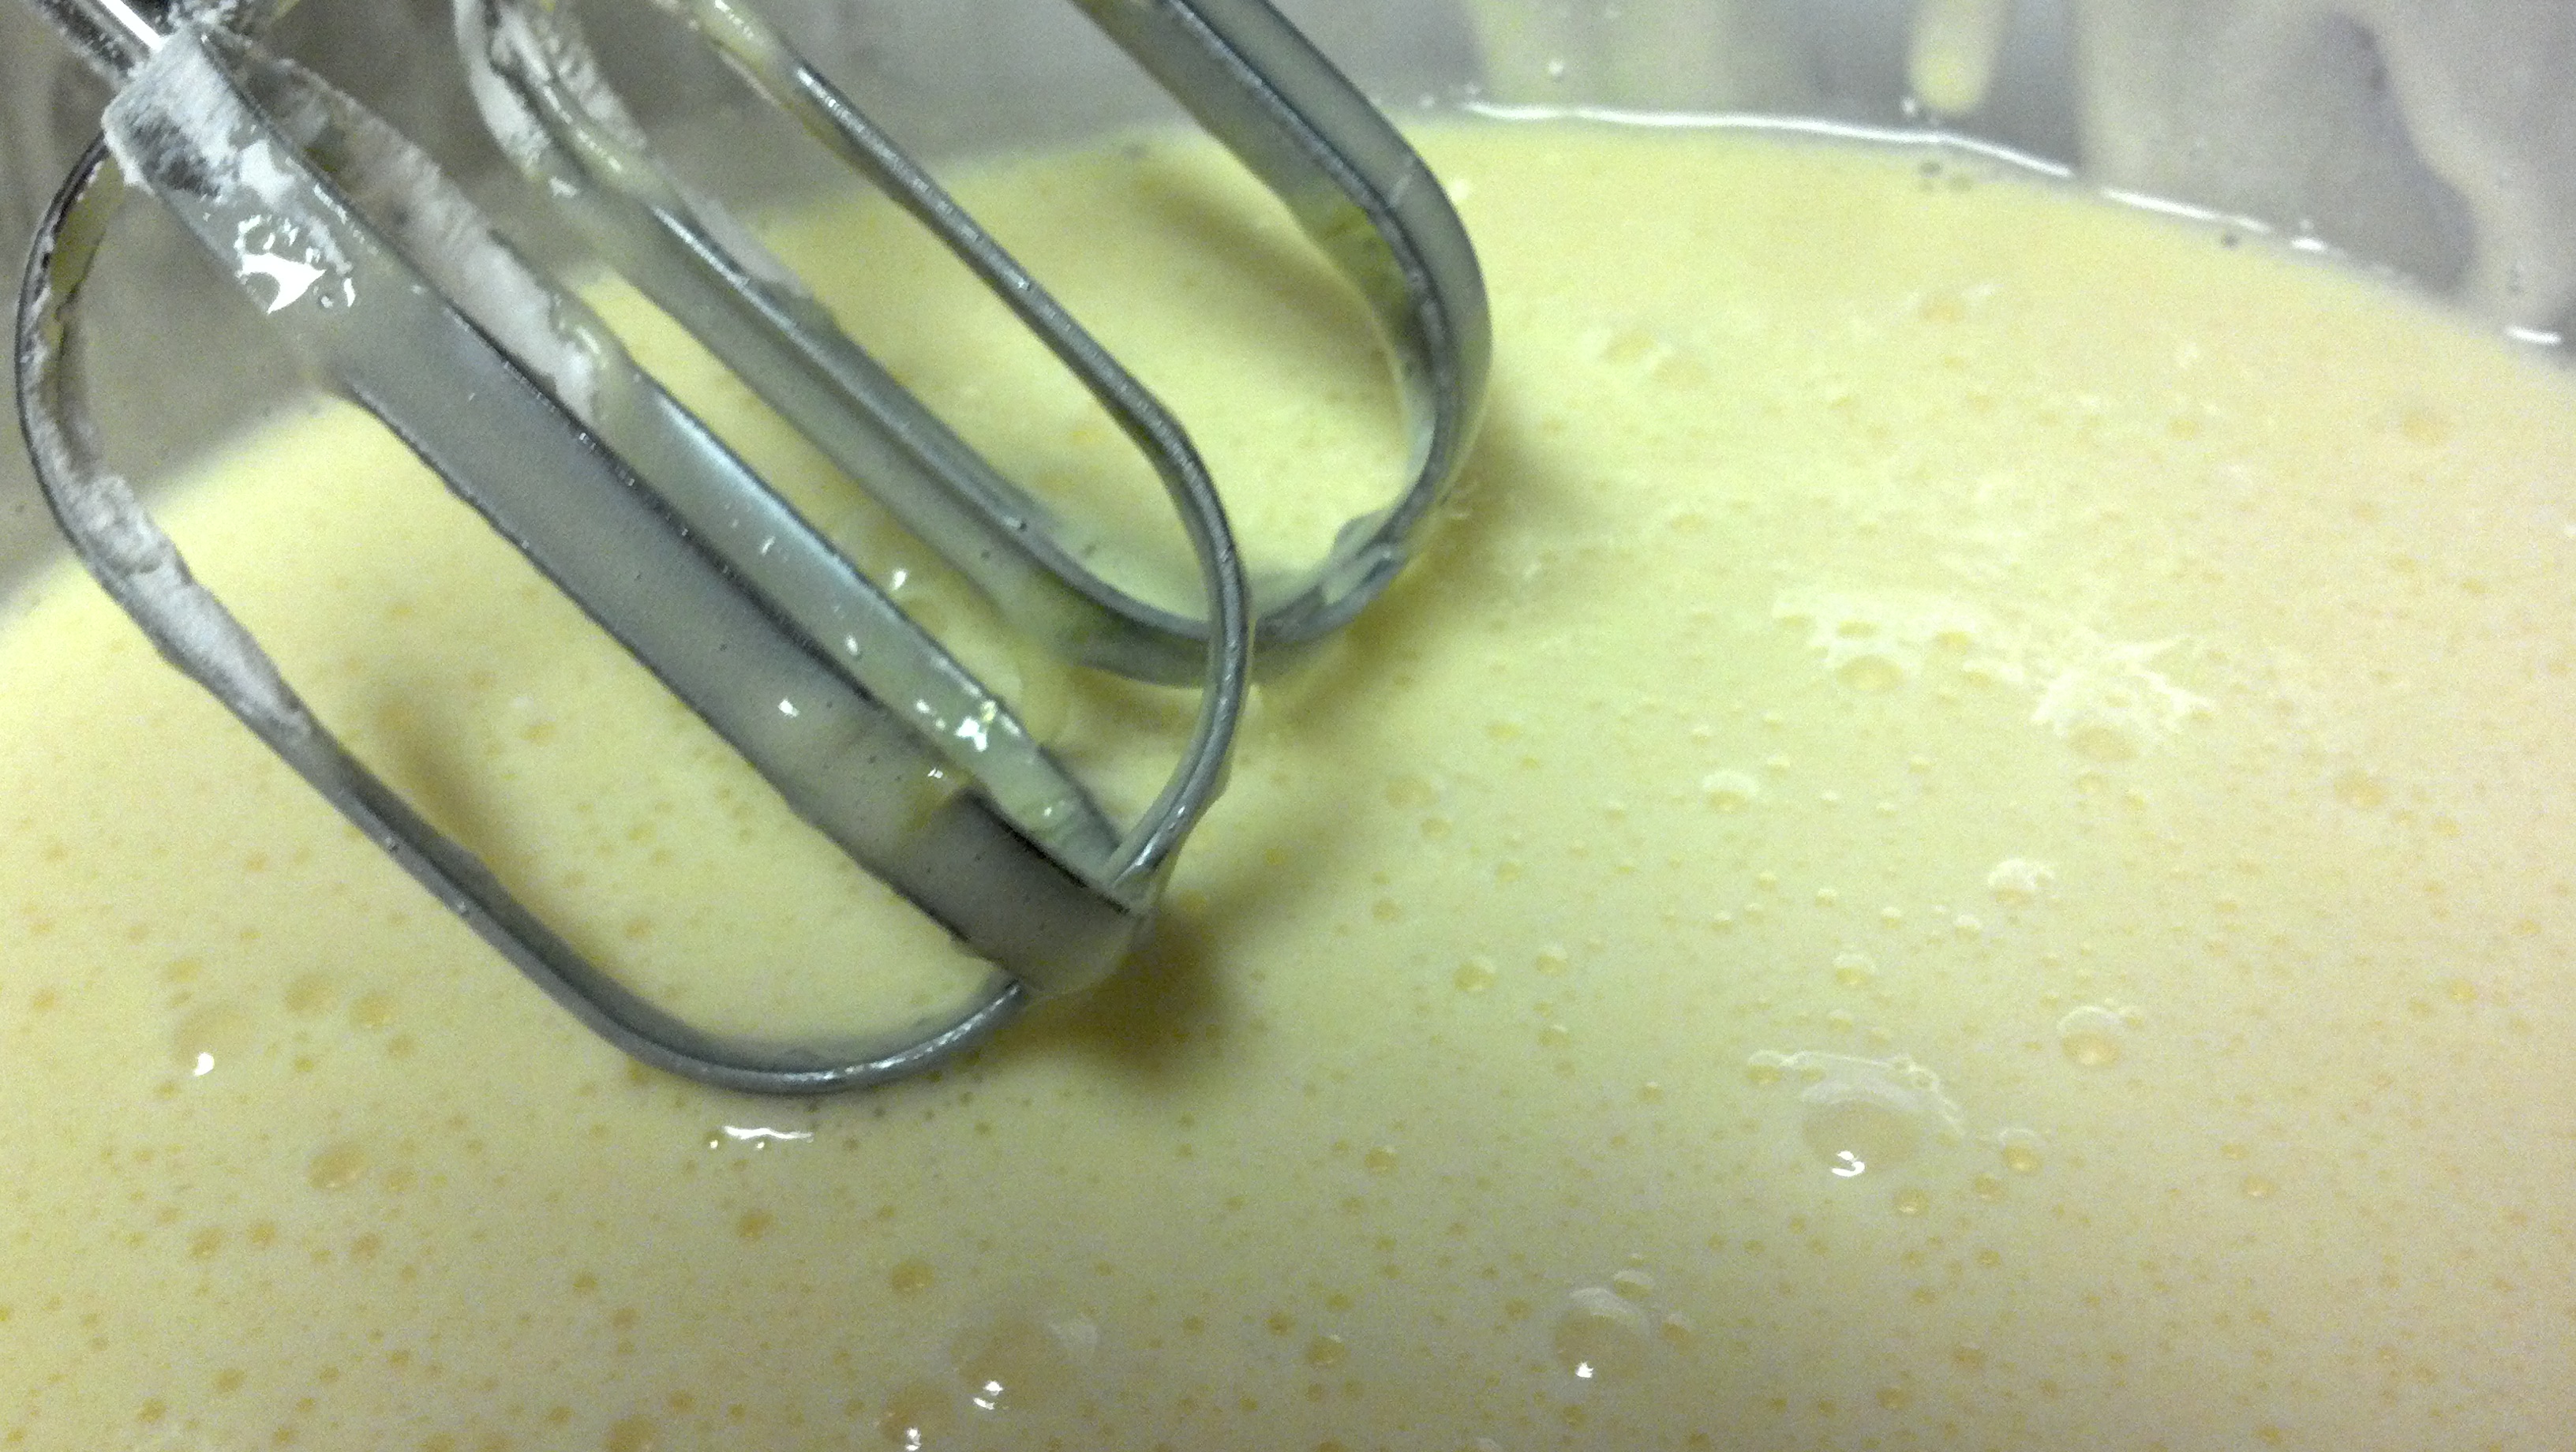
One of the things which was important from her video was beating the eggs for 10 minutes, until they were this really thick consistency. Since this dough doesn’t have any sort of baking soda or hartshorn, it’s all based on getting this eggs whipped correctly. At least, that’s what my chemistry brain is telling me. Thankfully, I had planned accordingly for how much time it would take, and was wearing thick socks on my feet instead of my usual barefoot in the kitchen routine. I know. Don’t go there. Anyway, the eggs got thoroughly beat up. Pardon the terrible picture. I’m holding the spatula and the camera at the same time.

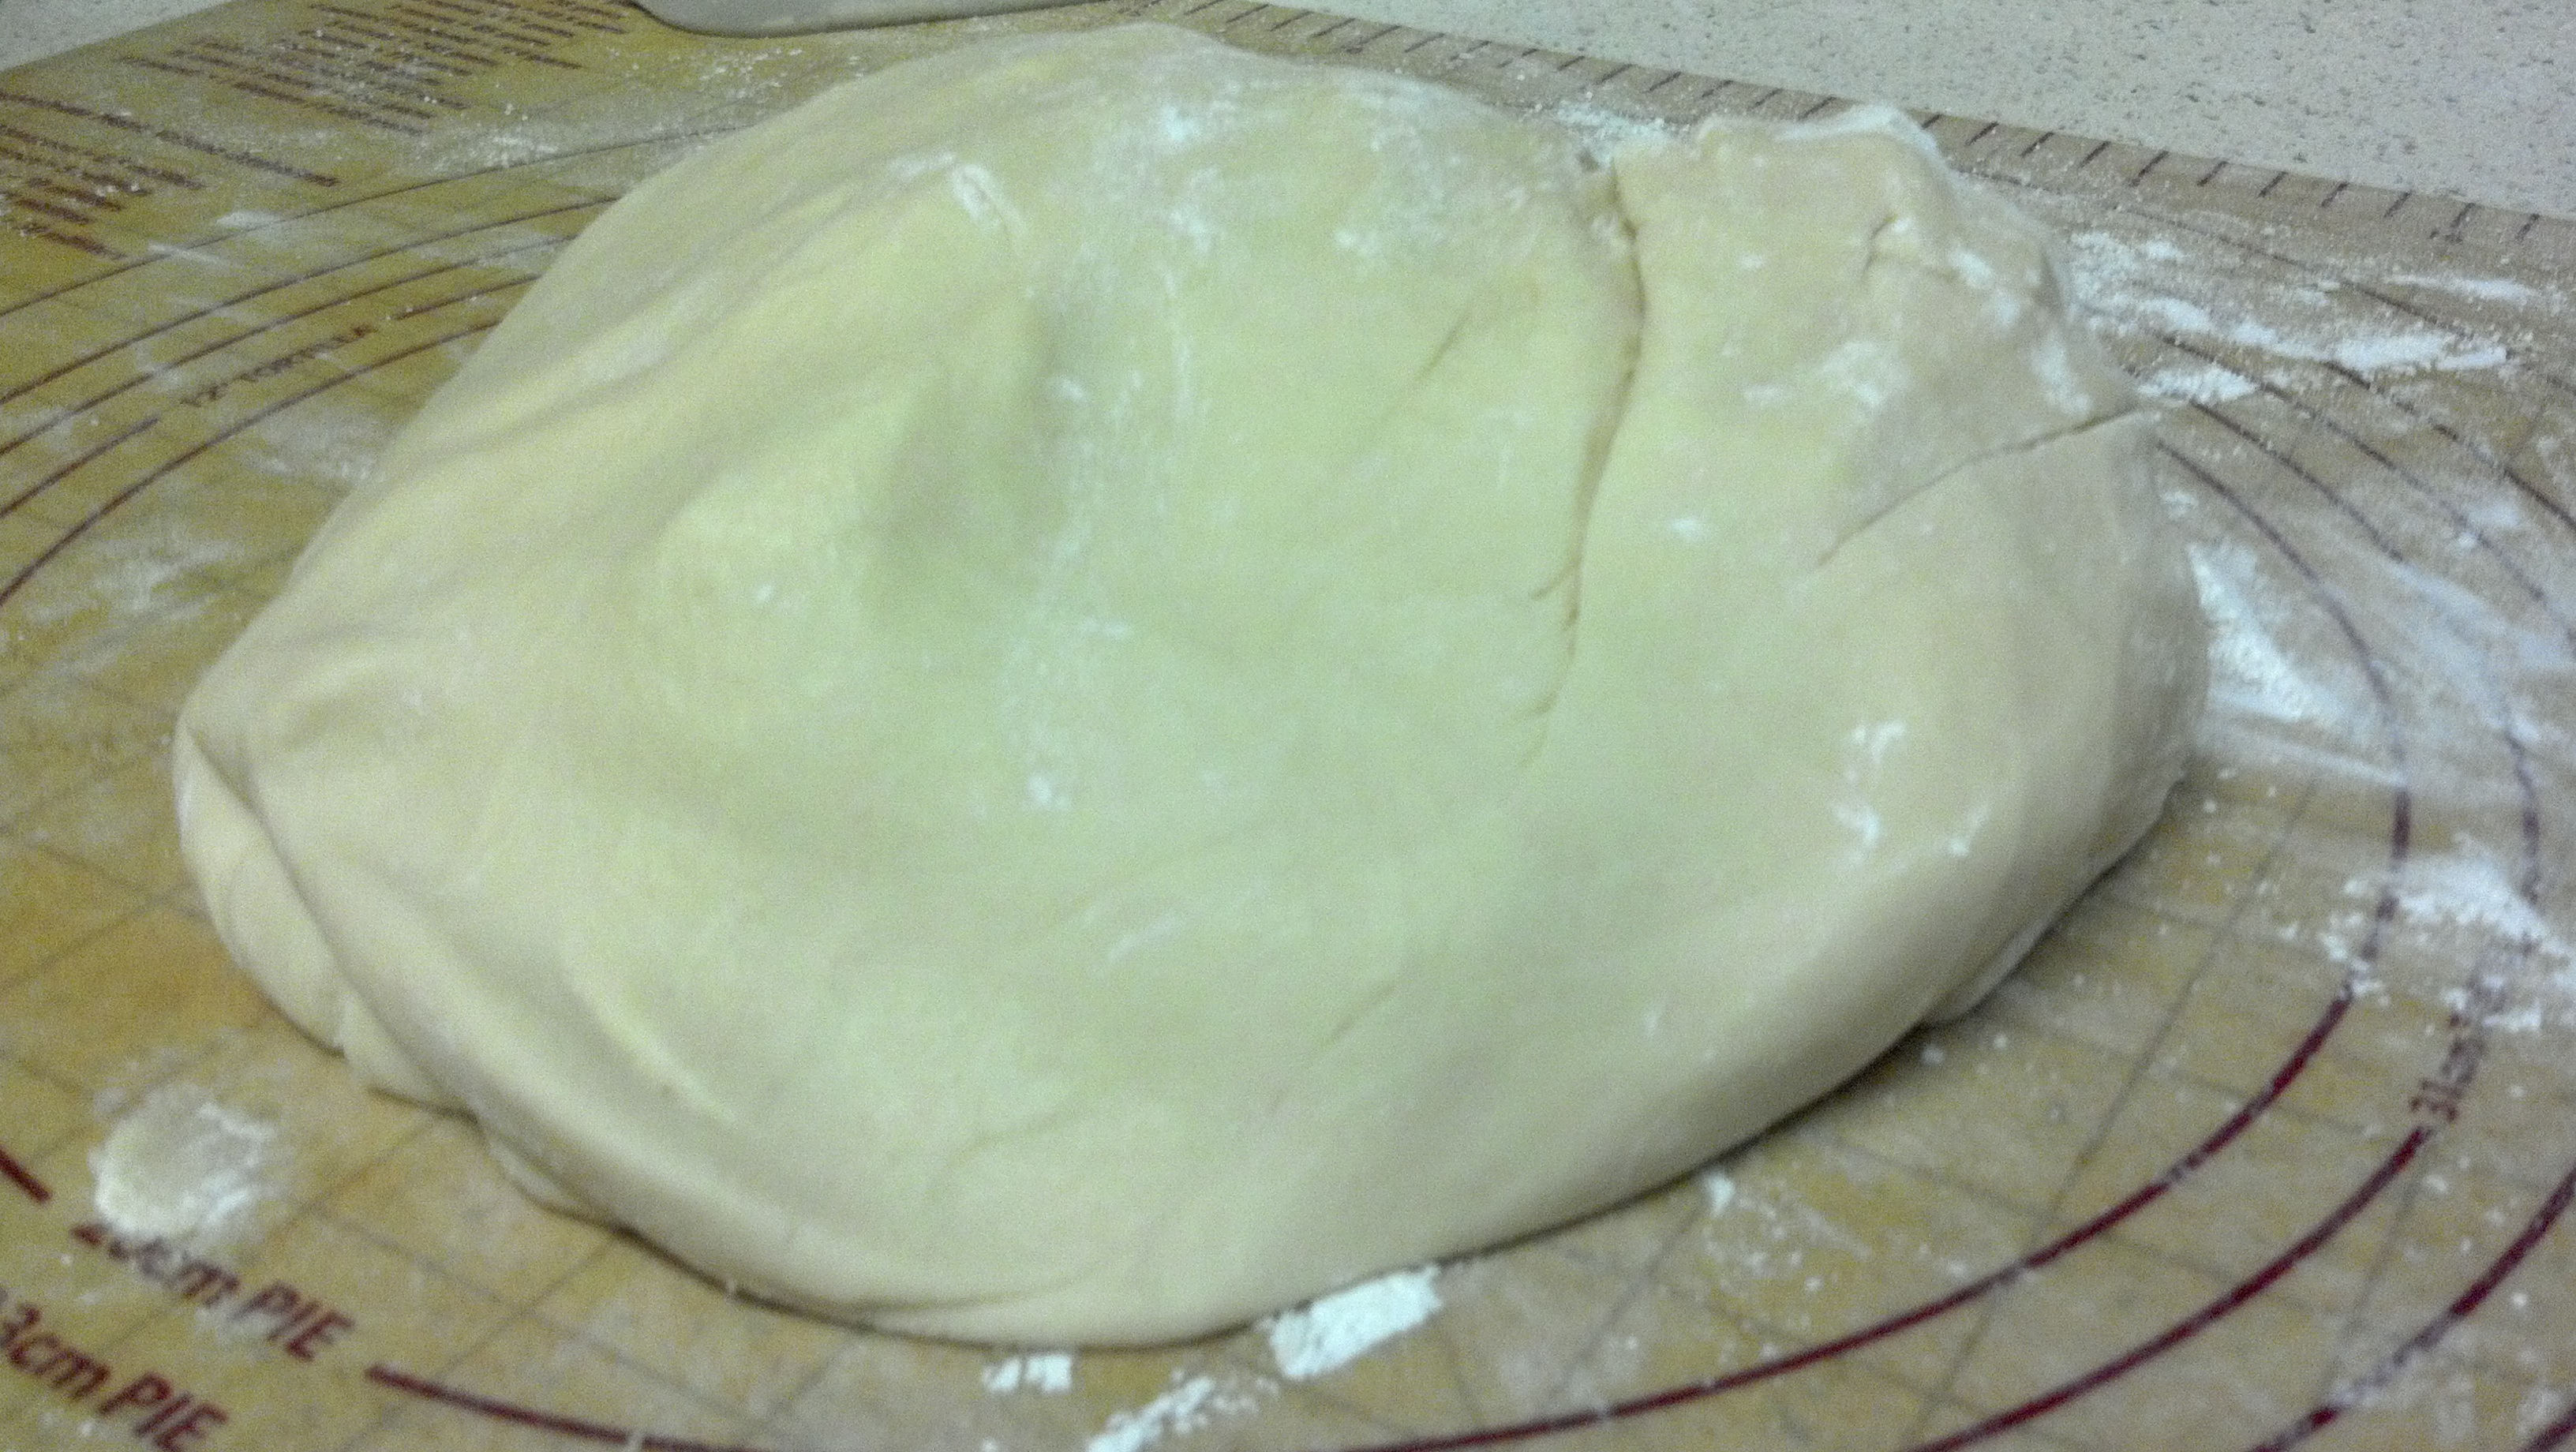
I used the SpringerleJoy’s suggestion of just using a whisk to mix up the powdered sugar and flour instead sifting. It worked splendidly without having the mess and measurement issues of sifting. I made quite the mess in Experiment #2. I ignored her suggestion of a whole teaspoon of almond oil. It’s so SUPER concentrated, so I stuck with 1/8 of a teaspoon. The rest of the recipe came together just fine. I let the dough sit, covered with a towl, for 20 minutes before I started working it. This gives the flour time to work.
After the 20 minutes was up, I pulled out a small amount of the dough. Note, it’s still very sticky at that point. I sprinkled quite a bit of flour on the pastry mat, and worked it into the dough. When it felt right, I used my new brush to dust the top of the rolled out dough and to dust the cookie mold. The cat mold is pretty deep, so I make sure to press down a bit harder when using it.

I know, another blurry one. It’s difficult to try to take a picture as your holding down the mold properly. Last time I made these, I used powdered sugar on the dough and the cookie mold. However, I found it too sweet, as there is already a lot of sugar in the dough. I switched back to flour. I quickly went through each batch of the sticky dough, trying different thicknesses of dough, and playing with the new pasta roller thingy. For straight up cut outs, I used a dough scraper. With the cat mold, I used a doughnut cutter to make round shapes. The cat pattern was the easiest to work with. I really liked how the circles looked when cut out.
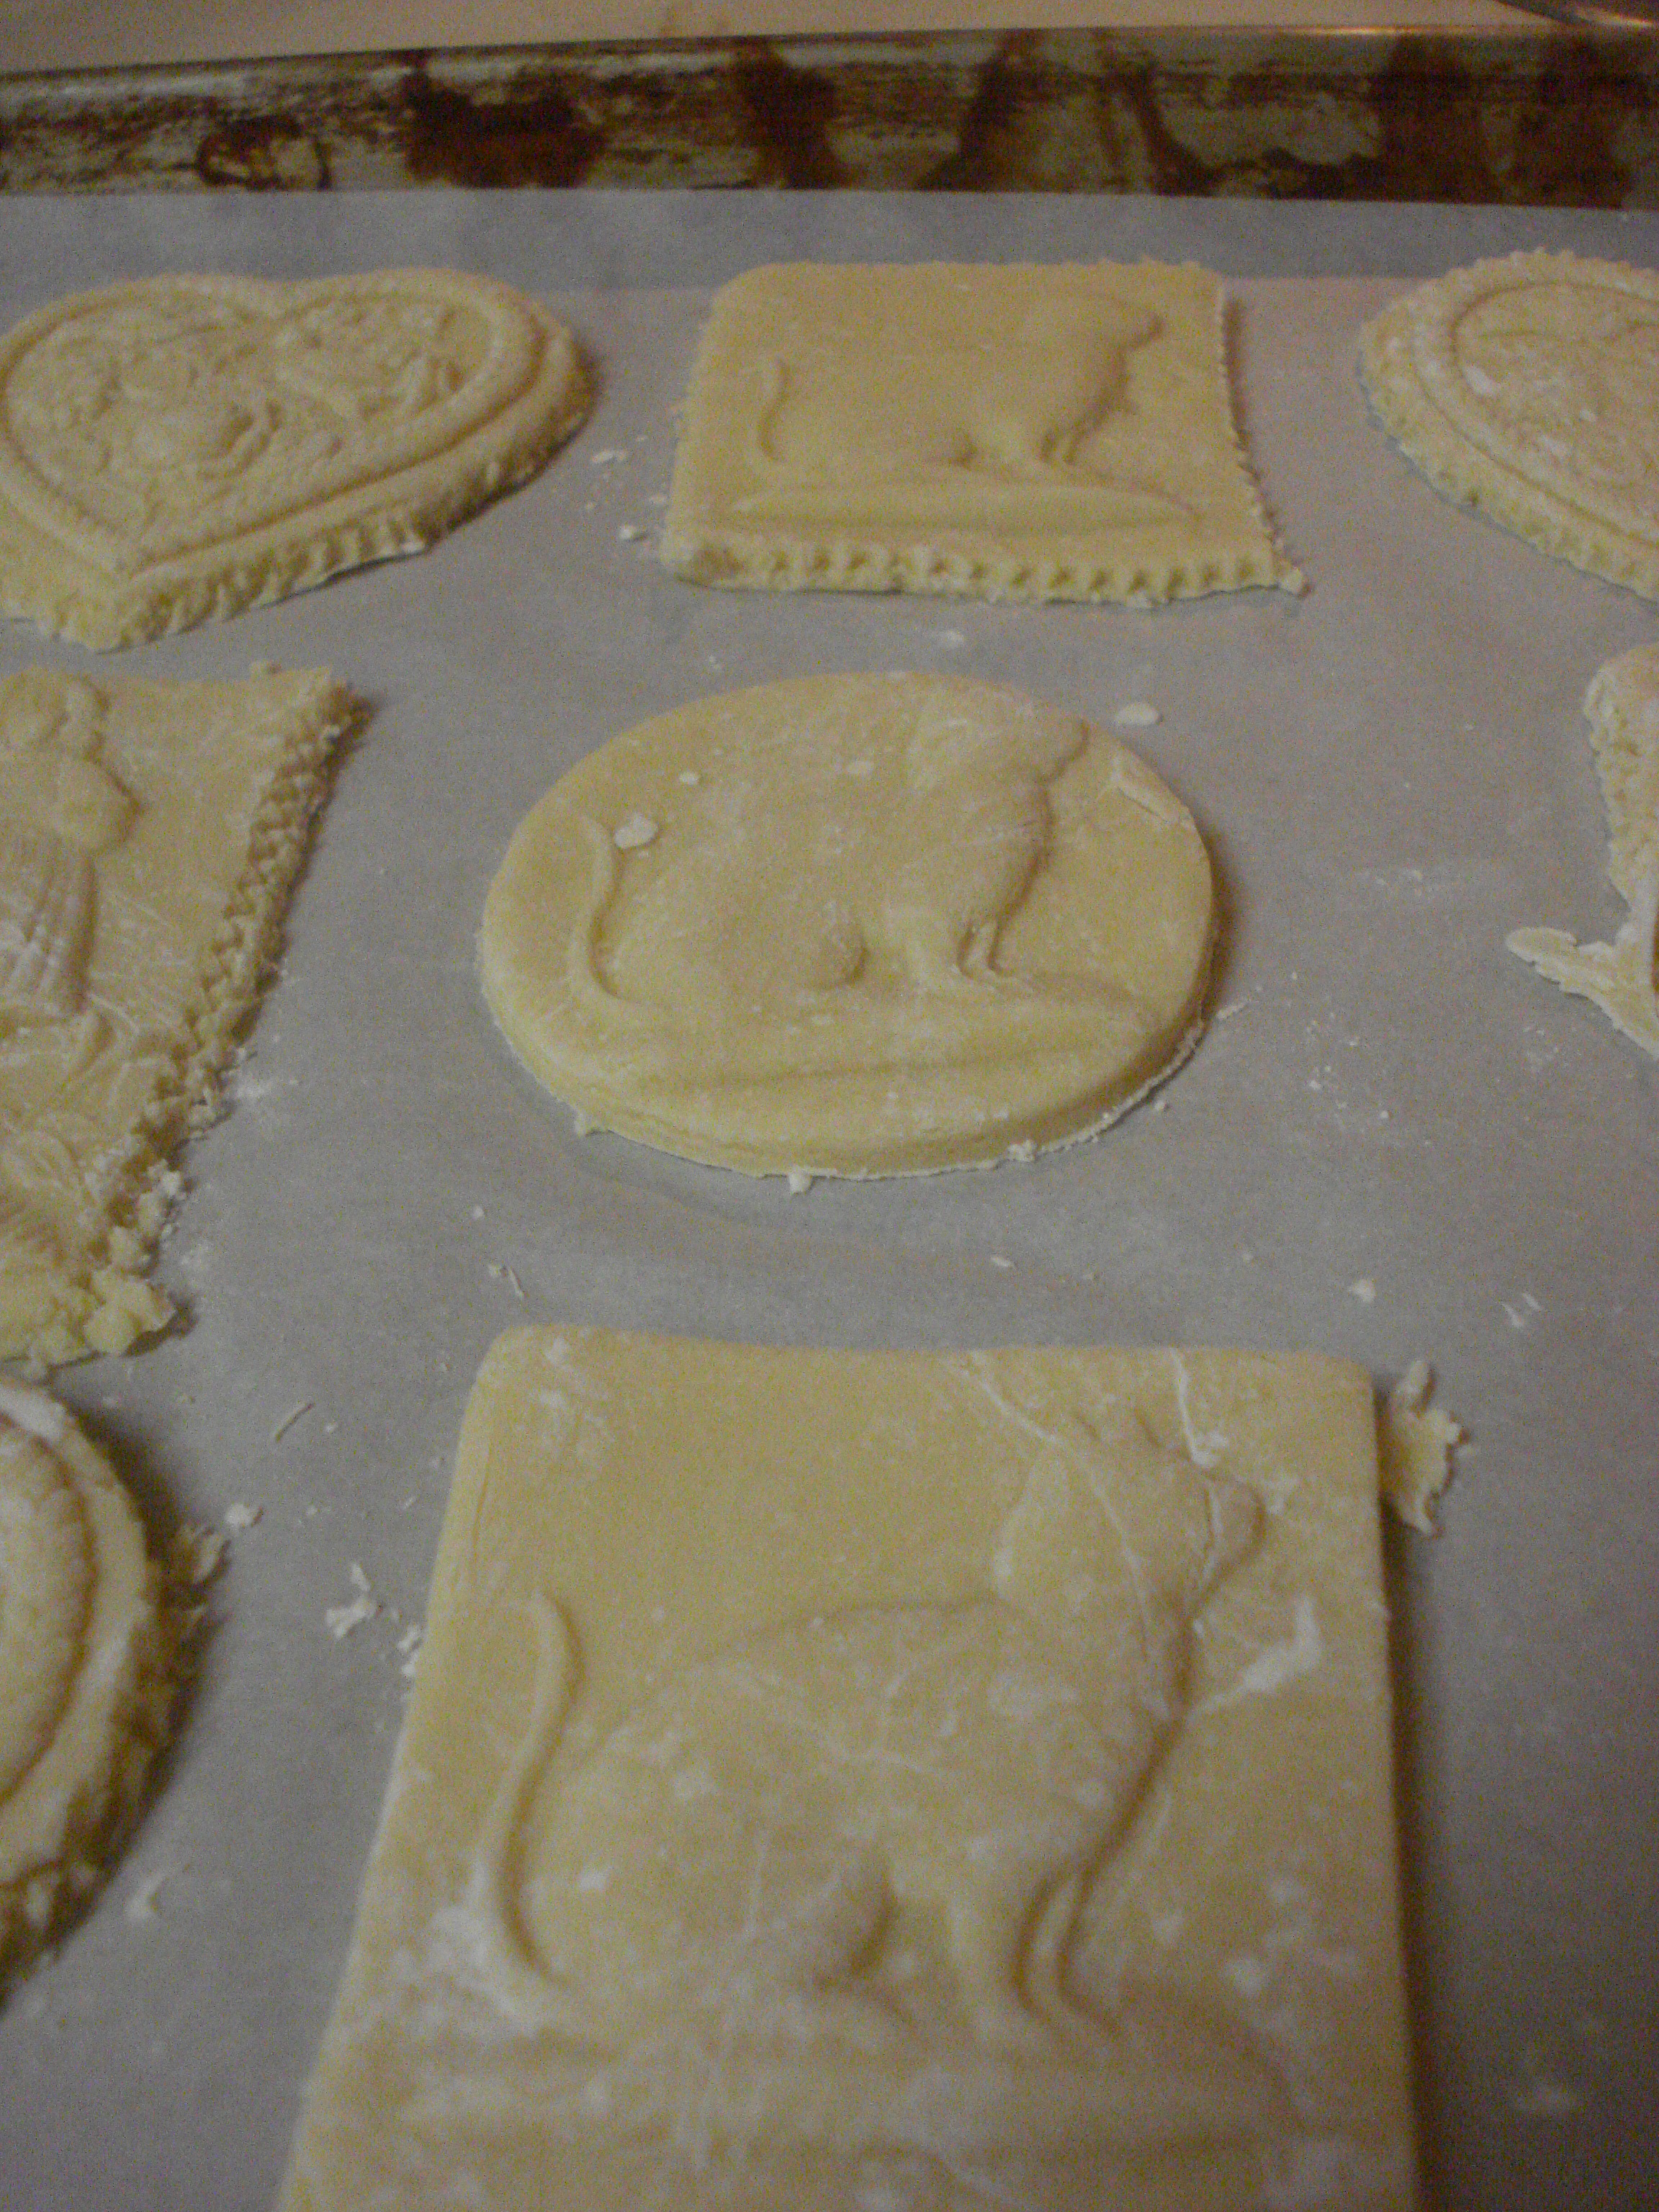
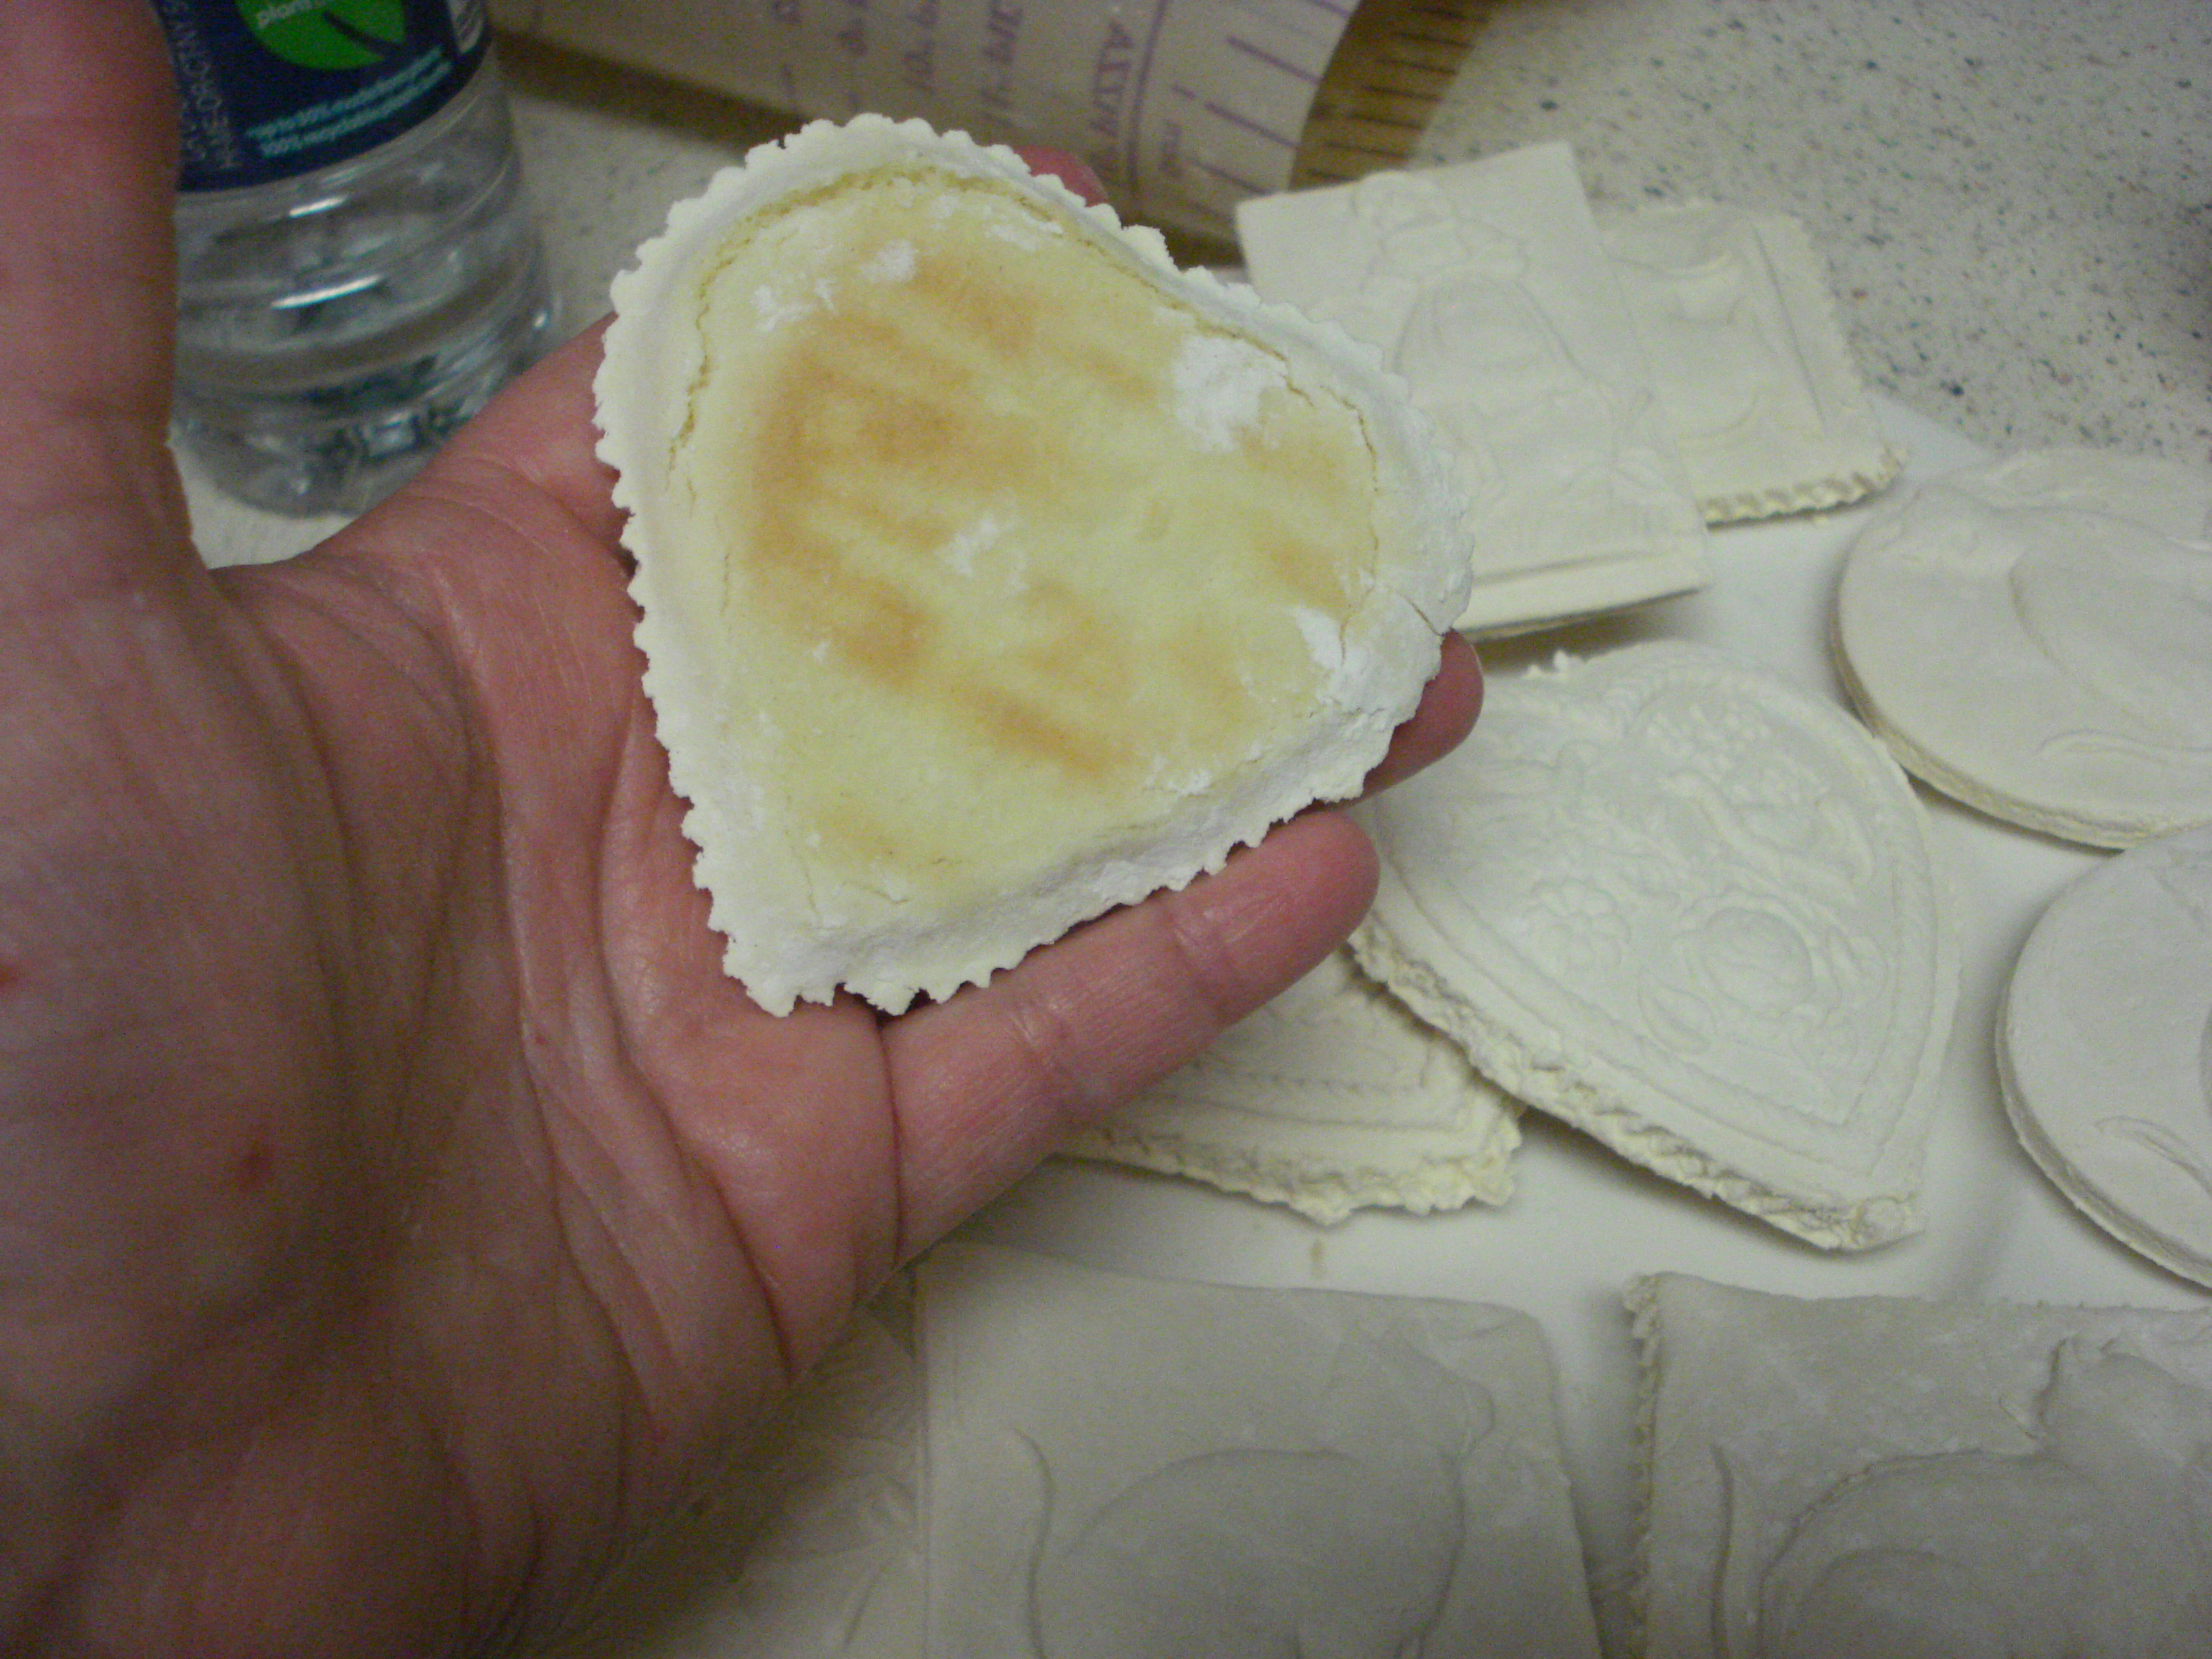
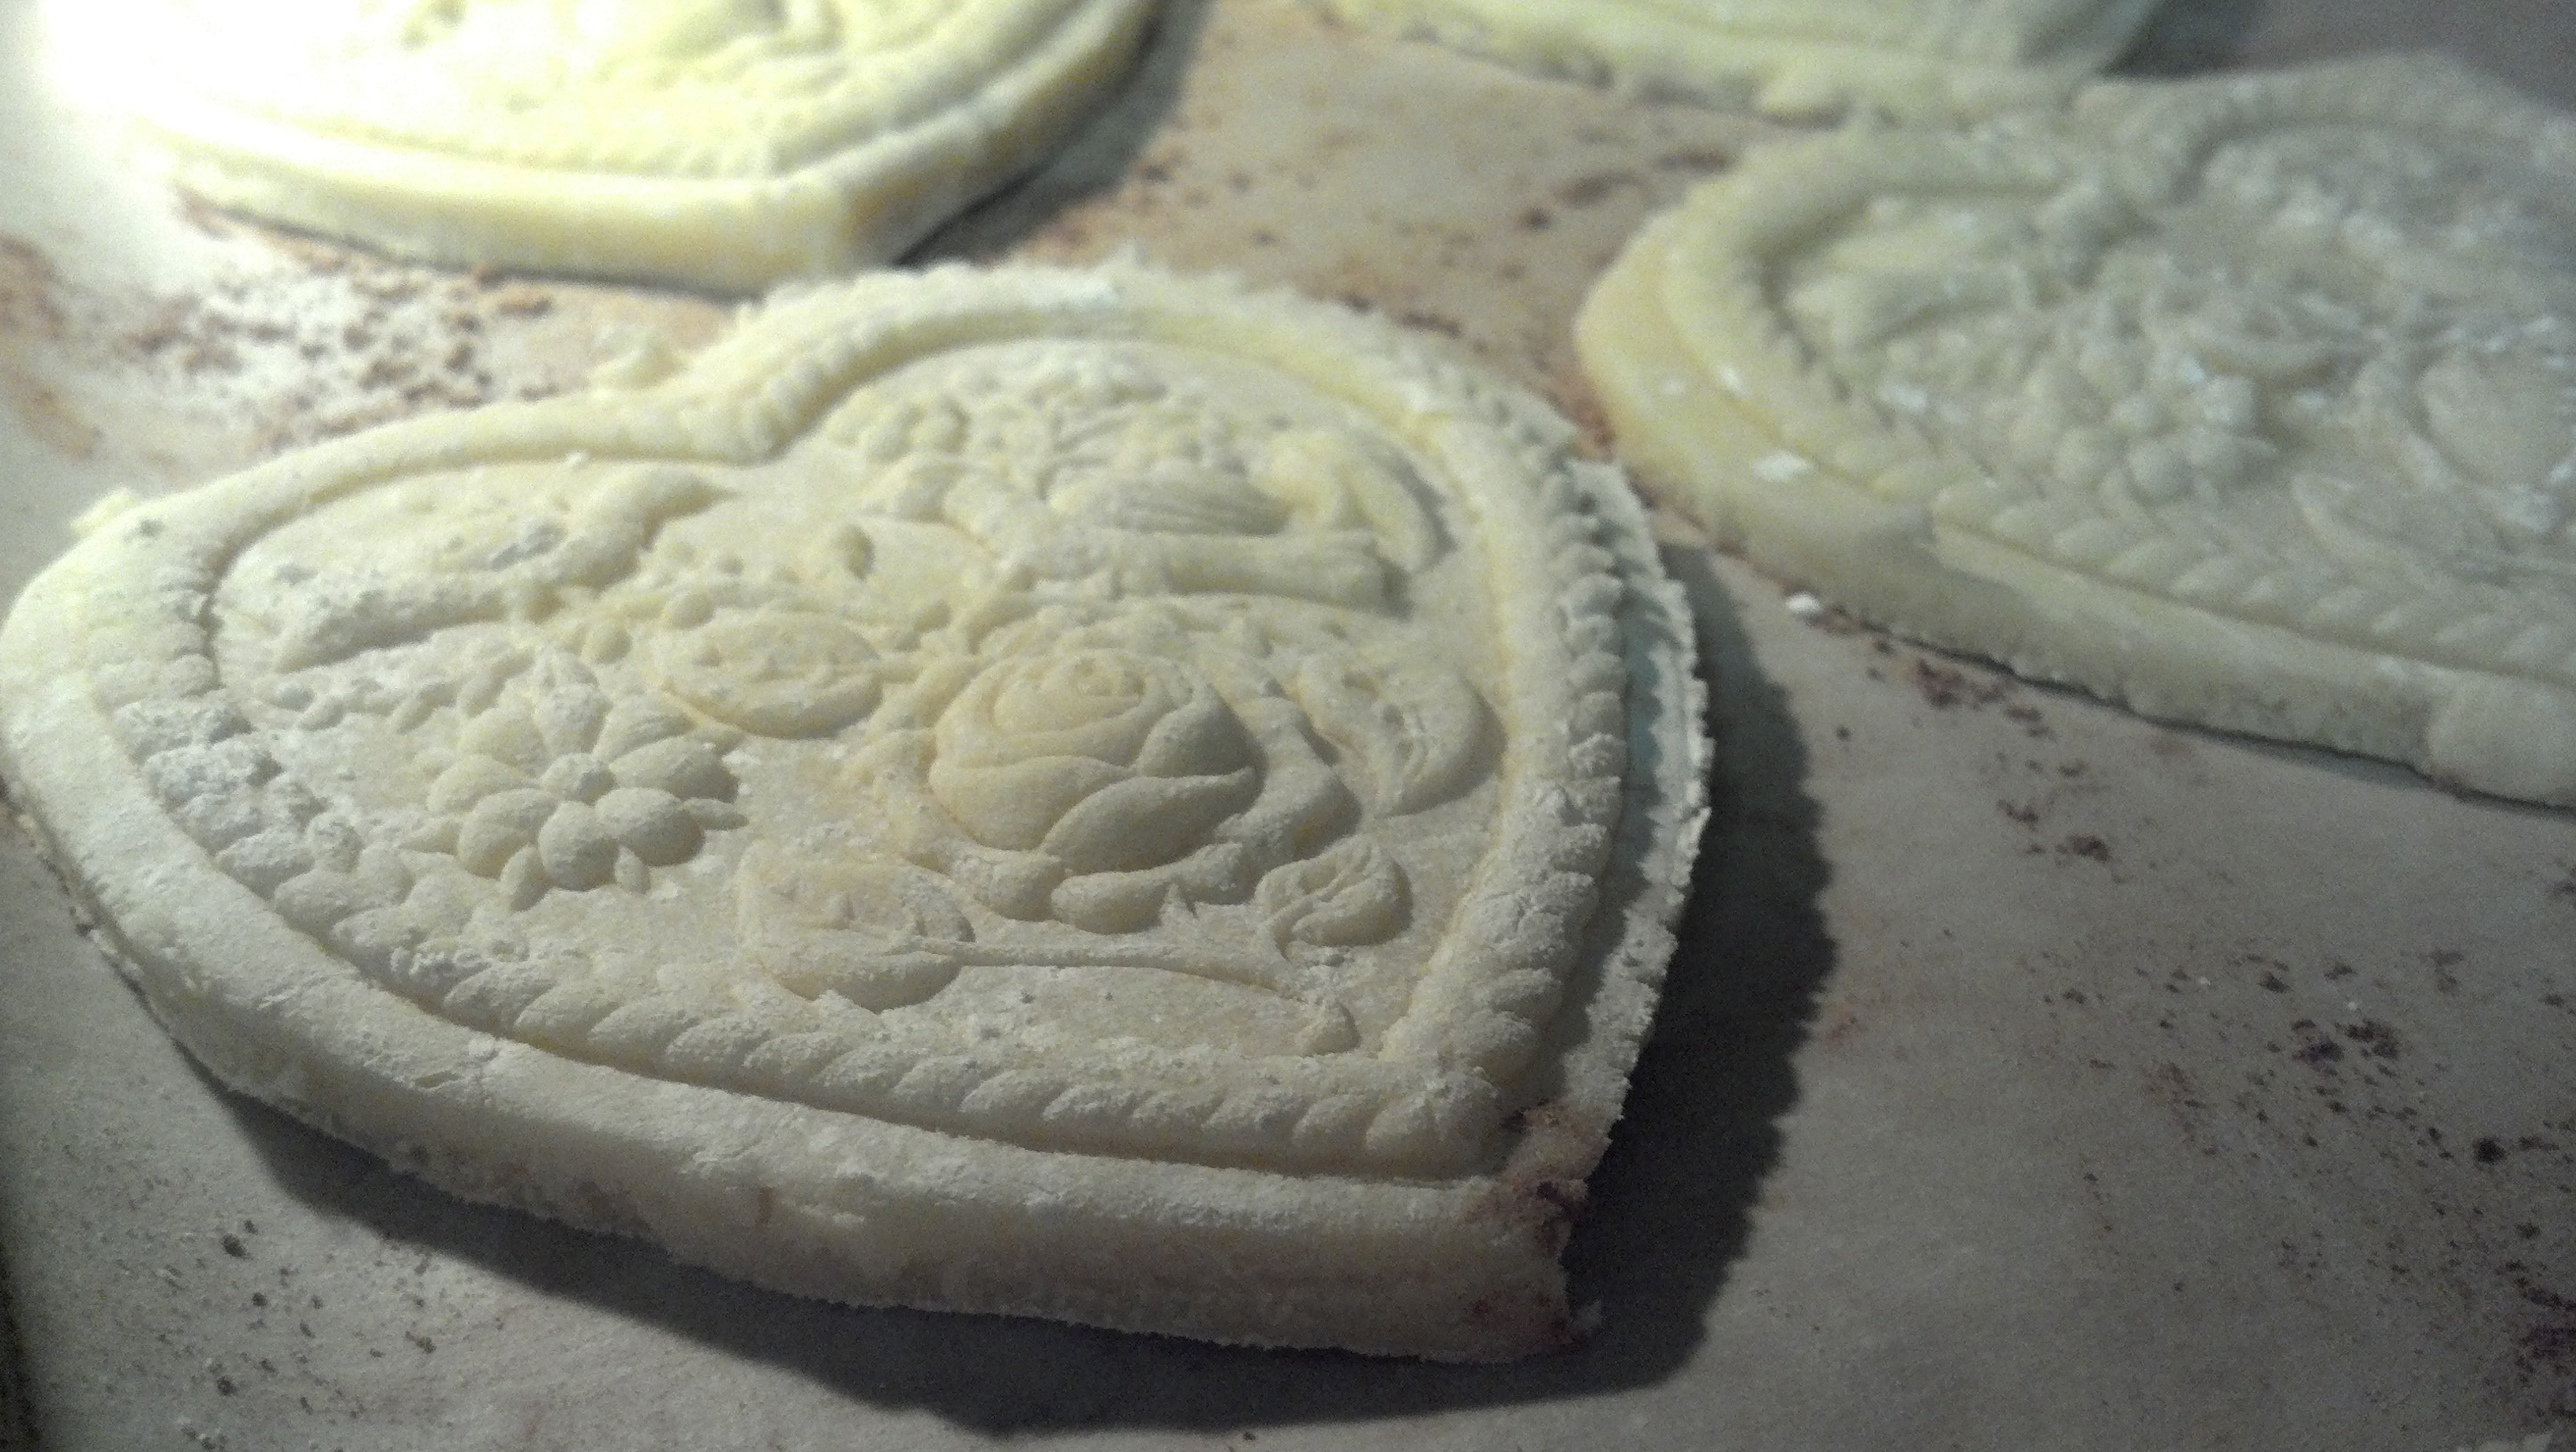
Of course, the most difficult mold to work with is the heart one. There is a lot of detail in this mold, and you have to be very careful while cutting this one out. If you pull the dough too hard when cutting it out, you’ll pull the design out of shape. If you didn’t use enough flour on the dough or the mold, it will get caught in tiny crevices. Much harder to work with. You can work edges back in shape a bit with your fingers, but the heart is the hardest one for that type of manipulation. See the detail?

I let this batch of Springerle sit about 16 hour to dry out. The weather was cold, but not humid. The texture of cookie was perfect; it should have a dried crust feel to it. Per the video instructions, I left them in for 6 minutes and then checked up on them 2 minutes later. Since ovens and weather can affect how they turn out, it’s a good way to tell how things are going. They’re supposed to be only slightly brown on the bottom and NOT at all at the time. I think that by putting these on the bottom rack of the oven, it gave me the desired effect.
The second sheet of cookies had some thicker cookies on it, so I checked it at 6 minutes and gave it another 3 minutes. This seems to be the perfect time/size for my oven. I even managed to get the “foot” that these cookies are supposed to have, as they rise instead of spreading out.

As you can see, I’ve got the texture, the color, and the entire feel for this cookie. I”m going to stick with this recipe for now, but try different flavors and textures. I found recipes for Green Tea Springerle, Chocolate Springerle, and all sorts of other flavors. I also want to make the “proper” flavor, which is the Anise cookie. I have other ideas for savory versions down the road. I’ve started a ‘beta” program with the cookies, foisting them off on co-workers and loved ones. Once I get a stand mixer, I can whip these up quicker with less mess. I love being a Springerle nerd.
Springerle Experiment – Take 2
I’ve been terrible about updating this post, but it’s been a squirrely week for me. I made a batch of Springerle last weekend, with the recipe coming from Ken Hamilton, The Springerle Baker. His recipe is pretty huge, I found out. You really never think about how much mess can come from 6 cups of powdered sugar and 8 cups of flour. I followed his full-length recipe, not the shorter quicker version. This was also the recipe which made me realize I SO NEED A STAND MIXER. My poor little hand mixer got quite the workout. I figured I was starting out well with the eggs!
It took QUITE a lot of work to get all the ingredients in. I had to use numerous bowls to handle the sheer amount of dry ingredients, along with all the sifting involved. WHY I DID NOT JUST CUT IT IN HALF, I’LL NEVER KNOW. Anyway, the dough turned out quite nice. I used the same amount of almond oil in this batch, as I did my original one. Since the batch was SO HUGE, the almond oil was perfect. As an aside, almond oil and almond extract are WAY different. The oil is SUPER concentrated. Seriously. You have NO idea until you actually work with this stuff. But it sure did make for a pretty looking and smelling dough.
Shiny and silky, eh? At this point, it’s actually still a bit sticky, even letting it rest and letting the flour work itself out in the dough. You did know that is why you let dough rest, right? MAGIC THINGS ARE HAPPENING. Once rested, it’s time to start working in the flour until you have a dough which will hold an imprint from the Springerle molds, but not actually stick to them. Or the rolling pin and mat, either.

This is actually one of my favourite parts. I love working the dough. It’s quite the soothing process. And I say this as someone with ZERO patience. This is why I do not often bake; I have a hard time waiting on anything. It’s almost like this dough is more tactile than others I’ve worked with, for regular cookies and such. Maybe it’s because this process is so ritual driven in many ways. Once I had the dough where I wanted it, I decided to try using the extra powdered sugar for the molds. Since flour gets all gooey and cakey with water, it can make for a pain in the arse when things get sticky. With sugar? It’s easily dissolved in water, so you can clean the molds easily. At least, that’s what I read on the internets. ONE NEVER KNOWS IF ONE IS BEING TROLLED.

As it turns out, I was not being trolled! The powdered sugar was quite easy to work with and the dough pulled away from the molds quite easily. The heart mold is pretty shallow, compared to the cat mold, which has the deepest imprinting. All three of my molds turned out great imprints and next to no sticking at all with the powdered sugar.
I also learned that I should bake like-sized cookies on the same sheets. I put all the heart-shaped cookies on one pan. The original recipe for Springerle calls for putting anise seeds under the cookies, with that being the only flavoring. Since most Americans are not fans of Anise, I’m using almond oil. And on the hearts, I sprinkled unsweetened cocoa powder on the parchment paper. For the pan of kitties and ladies, I sprinkled cinnamon on the parchment paper.

I let these sit over night, about 16 hours as it was a chilly and not very humid day. They rose pretty well, and the designs stayed in them while baking. I overbaked the kitties/ladies tray just a bit, but the hearts were perfect. After cooling, I put them all in plastic bags and took them to work.

While everyone was impressed with the designs of the heart cookies, the others were favored for the cinnamon flavor. I held back a whole bag of them, as the flavor is supposed to “ripen” for a week. I took them up to game day at the pub, where lots of people ate the kitty cookies. The flavor did settle in better, and the texture was fantastic. I was asked for the recipe already, and my game group said they’re happy to be my “beta” testers for future batches of cookies.
I started another batch this morning, but using a different recipe, along with some different techniques about working the dough and working the designs. Also? I totally need to crowdsource the money to get a KitchenAid stand mixer. I could send everyone cookies in return. Especially after I start the PAINTING of them! Once I get the recipe I’m happy with and get all the flavors set I want to try, I’ll be sending out lots to people to test.

You must be logged in to post a comment.